Work with Analyzer projects
Previous Topic  Next Topic 

Analysis bench - create project (advanced)


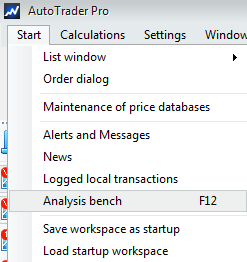
Begin by opening the Analysis bench, Start > Analysis bench


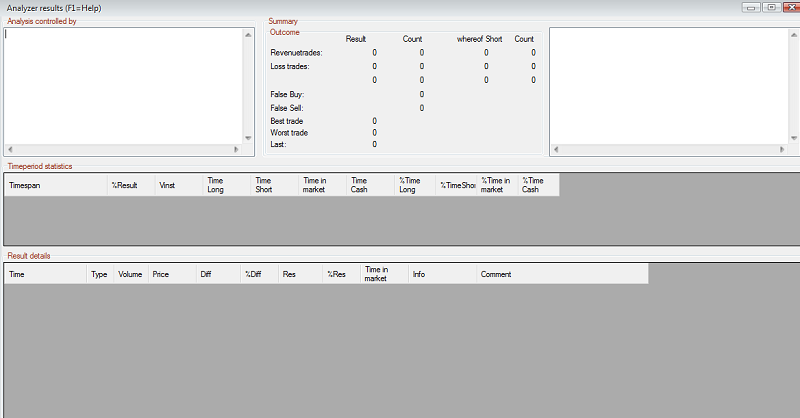
A dialog opens according to the picture below. Later, here is where the simulation results will be presented. Mark the window to light up the buttons in the toolbar that handle the Analysis bench functions.


Analysbänken - öppna Kalkylatorn


Open the Calculator result window. Click the button shown:


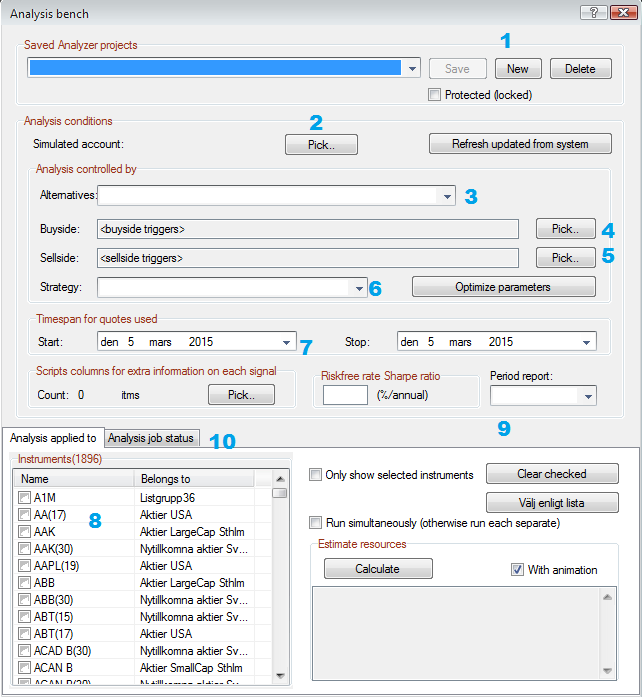
The Analyzer opens. From this dialog you can create and edit analysis projects, which are basically different order models connected to different instruments.


The steps marked in the picture above represents the explanations below:


  1. Click the New button to create and name a new project.
  2. Select an virtual trading account to be used. You can create accounts with your desired cash amount and brokerage settings in the account dialog.
  3. Select how the simulation should be executed. Available options are:

    a. Two trigger scripts generating trade signals.
    b. Once single order model containing both buy- and sell sequencies.
    c. Two order models - one for buy and one for sell
    d. Multiple single sequence order models buying and selling. 
        This option enables other models to be included in the project, for example a trailing stoploss that could improve the results (Stoploss Mini)
  4. Select the Buy side script or order models (described in detail in Redigera projekt )
  5. Select the Sell side script or order models (described in detail in Redigera projekt )
  6. Select trading strategy.Available options are: (described in detail in Redigera projekt )

    a. Long - Cash - Long (incl false signals) (false signals are consecutive signals in the same direction)
    b. Long - Short - Long (incl false signals)
    c. Controlled by selected triggers (no false signals)
  7. Select start- and end date for the simulation.
  8. Select instruments that should be included. You can select multiple instrument. You can also run the simulation on one instrument at a time to produce individual result reports. 
  9. Select report period if you want to accumulate results by period.
  10. Click the tab Analysis job status to open options for executing according to the picture below


Analysis bench - job status


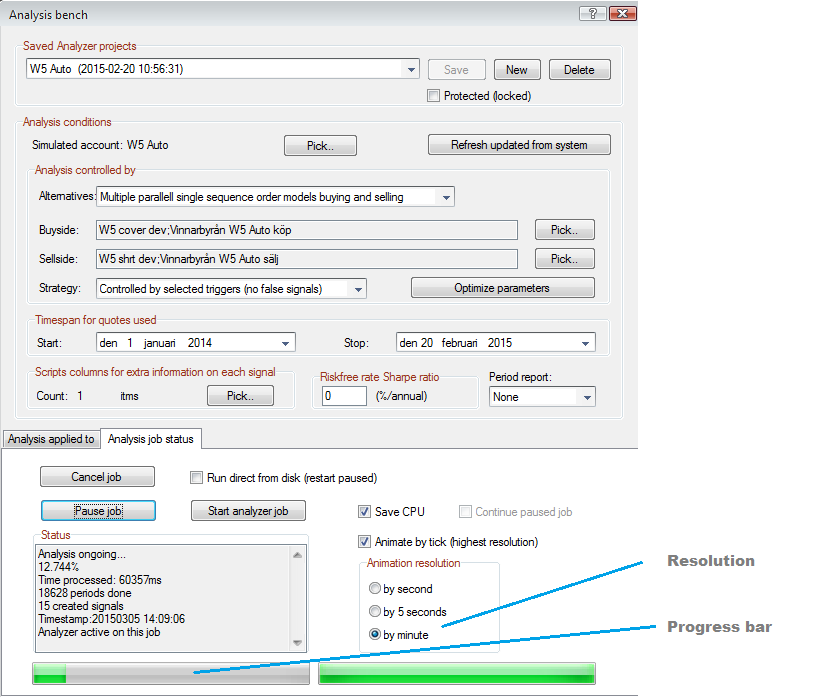
Click the tab Analysis job status to open the Status Dialog and options related to executing project.


In the status section you can see the progress of a simulation, number of generated trade signals etc. To the right you will find settings for animation resolution. The idea is to use 1 minute resolution in the early stages of developing a trading strategy, to be able to get a quicker view how the theory holds. Later on, when you want to simulate more accurately, you can switch to 5 second resolution to fully emulate real live conditions. The time needed to finish a simulation is greatly dependant on the selected resolution.